When it comes to protecting your home, every detail of your roof matters, even the ones you can’t easily see. One of those crucial yet often overlooked parts is the drip edge. But what is a drip edge, and why is it so important in your roofing system?
In this article, we’ll explain everything you need to know about drip edge flashing, including what it is, how it works, and why it’s essential for both new and existing roofs. If you’re a homeowner planning a roof replacement roof or simply trying to better understand your roofing materials, this step-by-step guide will help.
What Is a Drip Edge?
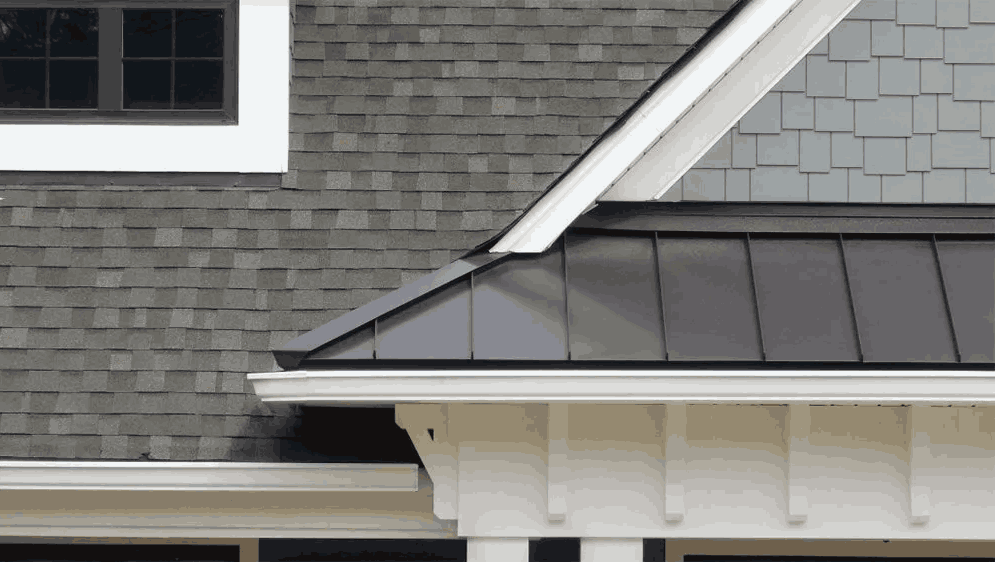
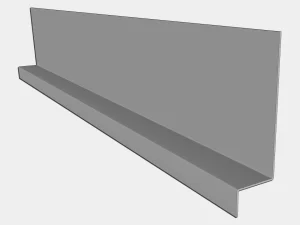
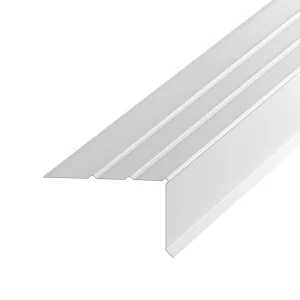
A drip edge is a metal flashing installed at the edge of a roof to direct water away from the fascia, roof deck, and into the gutters. Typically made from aluminum, galvanized steel, or copper, a drip edge is a metal that acts as a shield to prevent water intrusion.
Drip edge flashing is designed in an “L” or “T” style and is placed beneath the first row of shingle roofing. The goal is to secure the drip edge properly so that it performs its function effectively and prevents rot, mold, and damage to your house.
How Does a Drip Edge Work?
When rain falls, water travels along the roof and may cling to the edge due to surface tension. Without a drip edge, this water could seep under the shingle and damage the roof deck. A properly installed drip edge redirects this water away from the roof, keeping your roofing system intact.
Why Is a Drip Edge Important?
Here are several critical reasons why a drip edge is a vital part of your roof:
1. Protects the Roof Deck
The roof deck is usually made from wood, which is vulnerable to rot and water damage. A drip edge is designed to keep moisture away from the roof and protect this material.
2. Extends Roof Lifespan
By controlling water flow, a drip edge helps prevent early deterioration of roofing materials. This can extend the lifespan of your shingle roof by up to 30 years.
3. Prevents Fascia and Soffit Damage
If water backs up or seeps into the fascia and soffit, it can cause significant damage. A drip edge prevents this by channeling water properly.
4. Required by Building Codes
Many building codes now require a drip edge as part of the roof replacement roof process. It’s a necessary part of modern roofing systems.
5. Adds Visual Appeal
Drip edge flashing is available in various colors, styles, and materials, so it can match your roof and home aesthetics. From galvanized steel to copper, you can choose the best type for your needs.
Types of Drip Edges
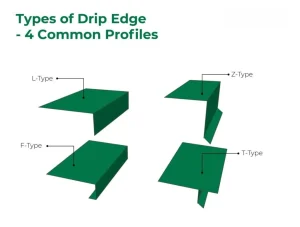
Not all drip edges are the same. There are a few styles to choose from, each designed for specific roofing needs:
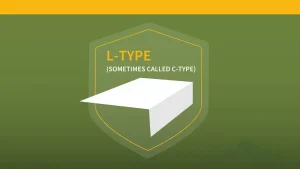
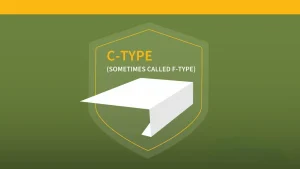
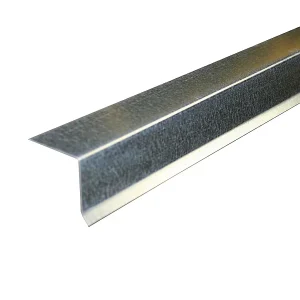
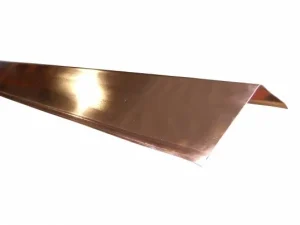
🟩 Type C (L-style)
-
Most common style
-
Shaped like an “L”
-
Simple and easy to install
-
Best for steep-slope roofs
🟨 Type D (T-style) or Z-metal
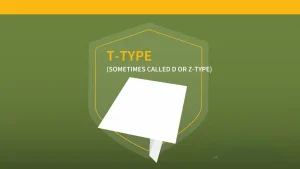
-
Features a wider overhang and better water-shedding capability
-
Offers more protection for the fascia board
-
Often used in high-rainfall areas
🟦 Type F (F-style or Gutter Apron)
-
Has an extended flange to protect rake edges
-
Ideal for retrofits and roof repairs
🟥 Type Z (Z-style or Step Flashing Style)
-
Bent into a Z-shape, offering a layered form of protection
-
Often used where the roof meets vertical walls or dormers
-
Helps channel water away from critical junctions
-
Especially effective when installed with step flashing to provide additional waterproofing
Each type can be fabricated in various materials, including:
-
Aluminum: Lightweight, rust-resistant, and affordable
Galvanized Steel: Strong and long-lasting, but may rust over time without proper coating
Copper: Durable and aesthetically pleasing, but more expensive
Installation Process
A professional roofing contractor should follow a step-by-step guide for proper installation:
- Install the underlayment before or after the drip edge (depends on local code).
- Cut the drip edge to the required length, allowing for a 2- to 4-inch overlap.
- Use roofing nails to secure the drip edge every 12 to 16 inches.
- Install drip edge along the eaves, then at the rakes.
- Ensure the drip edge flashing is tight against the roof deck and fascia.
💡Pro Tip:
Use corrosion-resistant fasteners and always hire a professional roofer to ensure it is installed properly.
Cost of Drip Edge Installation
Adding a drip edge is relatively inexpensive:
- Material: $1 to $2 per foot
- Installed: $2 to $4 per foot
For a house with 200 feet of roof drip edge, total costs can range from $400 to $800. A smart investment considering potential repair costs without drip edge.
Common Drip Edge Problems
Even though it’s low-maintenance, issues may arise:
- Bent or damaged sections
- Improper cut lengths or overlap
- Rusting of galvanized steel without a protective coating
- Wind lifting poorly installed metal flashing
Regular inspections and roof maintenance can help you avoid potentially expensive repairs.
Is a Drip Edge Right for You?
Yes. Whether you’re planning a full roof replacement roof or doing a minor repair, a drip edge is a critical component. It works for:
- Asphalt roofing
- Shingle roof systems
- Flat or low-slope roofing
It helps protect your home from water intrusion, ice, and winter weather conditions.
Final Thoughts
A drip edge is a metal accessory with a vital function in preserving the roofing system of your home. This small but powerful component helps protect your home from damage, enhances the roof‘s lifespan, and ensures proper water management.
Don’t miss the chance to make this important upgrade. Install drip edge now and give your roof the long-lasting protection it deserves. Talk to a professional roofing contractor today and learn how to choose the right choice for your home.