When your roof is damaged by a storm, getting it repaired can feel confusing. With insurance involved, you might feel lost about what’s happening next.
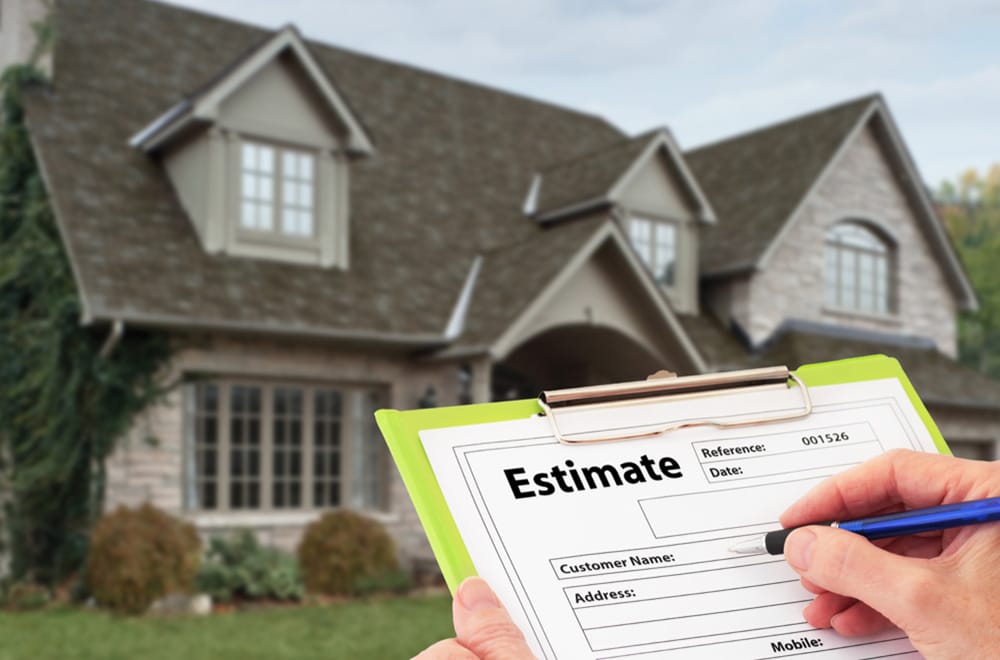
A roofing estimate is like a simple map that shows everything needed to fix your roof, including what’s covered by insurance and what you might need to pay.
Let’s walk through each part of your roof insurance estimate in easy-to-understand steps so you can make confident and informed decisions.
What is a Roofing Estimate?
A roofing estimate is a detailed report outlining:
- The repair work your roof needs.
- The materials and labor required for the job.
- How much insurance covers and what you may need to pay (if insurance is involved).
- Upgrades which involve any additional or higher-tier component you wish instead of the preexisting ones or the ones approved by insurance
Think of it as a guide, giving you and your insurance company a clear look at what it will take to fix your roof and what each part of the process will cost.
Key Parts of a Roofing Estimate
Your estimate will have several main sections, each showing a specific part of the repair job. Here’s what to look for in each section:
-
Materials
This section lists all the materials and features that your roof requires, or those of your choosing. The list of materials will normally include:
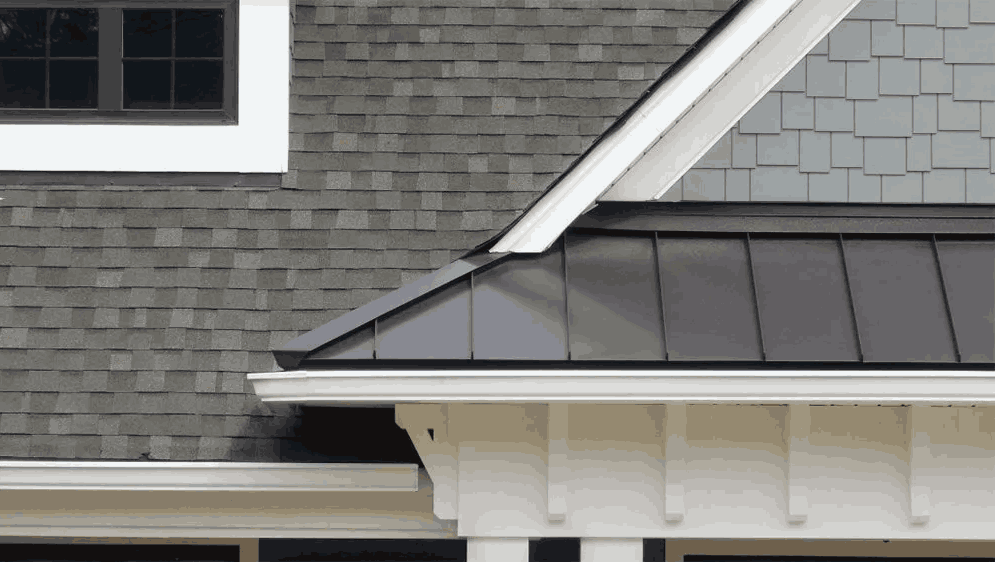
- Shingles: The outer layer that protects against weather.
- Underlayment: A protective layer underneath the shingles.
- Fascia. The fascia board is the long, straight board that runs along the lower edge of the roof. It supports the lower edge of your roof plus the guttering.
- Flashing: Metal pieces that seal around edges to keep water out.
- Gutters and Downspouts: The channels along the edge of the roof that direct rainwater away from the house foundation, protecting it from water damage.
- Chimney and Siding: The areas around chimneys and along exterior walls, which need extra sealing and sometimes flashing to prevent leaks and humidity.
- Metal Structures: Metal supports or components on the roof, such as vents or braces, that add stability and help ventilate or reinforce the roof structure.
Each material will be listed with details on type, quantity, and price, so you know exactly what’s going into your repair.
-
Labor Costs
Labor costs are all expenses that involve the time, work and expertise of a skilled roofing team. It’s usually calculated based on how steep is your roof. Labor costs also includes:
- Removing damaged shingles and old materials.
- Installing the new materials according to the plan.
- Cleaning up the area once the repair is complete.
You should find a line item in your roofing estimate that contemplates labor costs.
-
Sales Tax and Contingency Fees
- Sales Tax: Some States may include a Sales tax on the roofing estimate.
- Contingency Fees: This is extra money set aside for potential surprises, like hidden rot or extra repairs needed once old shingles are removed.
Understanding these fees helps ensure the project stays on budget even if something unexpected comes up, so you don’t get surprise charges.
Key Insurance Terms in Your Estimate
Reading an insurance estimate is easier when you understand a few important terms. Here are the main ones to keep in mind:
- Replacement Cost Value (RCV)
- This is the full cost to replace your roof before any deductions. It includes all materials, labor, and other fees. Think of it as the total repair cost without considering age or wear.
- Actual Cash Value (ACV)
- This is what the insurance might pay upfront, factoring in depreciation. It’s the Replacement Cost Value with a portion subtracted based on your roof’s age and condition.
- Depreciation
- Depreciation is the value lost over time as your roof ages. Some insurance policies offer “recoverable depreciation,” meaning you’ll get this back once the repairs are complete.
- Deductible
- Your deductible is the amount you pay before insurance takes over. For example, if your deductible is $5,000 and your roof repair costs $10,000, you’ll pay the first $5,000.
Understanding these terms will help you see exactly what insurance is covering and what amount you’ll be responsible for.
Reading Through Each Line of the Estimate
Each line item in the estimate shows one part of the job, such as the cost for shingles, underlayment, or labor. Here’s how to read each line:
- Description
- The description tells you what each line item is for, such as “3-tab shingles” or “tear-off existing roof.” This explains the specific job or material in each section.
- Quantity
- Quantity shows the units and quantities of each material that will be used. For example, it might say “30 squares” for shingles or “200 linear feet” for flashing. This gives you an idea of the size of the job and the extent of the damage.
- Unit Cost and Total Cost
- Unit cost is the price per unit (like per square of shingles), while total cost is the full price for that material or task. For example, if shingles are $50 per square and you need 30 squares, the total cost is $1,500.
- Taxes and Fees
- Taxes on materials and contingency fees for unexpected repairs are often included here. This makes sure your estimate reflects the full cost, including any extras that could arise during the job.
Step-by-Step: How to Work with Your Estimate
Once you’ve read through each part, here’s what you’ll do next:
- Review and Approve
- Take time to review each part of the estimate. Confirm that you understand what’s covered, ask any questions, and then sign to approve the estimate.
- Confirm Deductible Payment
- If the estimate looks good, you’ll pay your deductible. This is usually required before work begins, as it’s your part of the responsibility.
- Schedule a Pre-Construction Call
- The roofing company will go over logistics with you, including the project timeline and material placement. This step ensures both you and the contractor are ready for work to begin.
- Track Progress During Installation
- The roofing crew will remove old materials and install new ones based on the estimate. You can ask for updates and stay in the loop as the work progresses.
- Final Walkthrough and Inspection
- Once the work is complete, the roofing company will inspect the roof and may walk you through the finished project. This allows you to ask questions and make sure everything is to your satisfaction.
- Certificate of Completion
- After the final inspection, the roofing company sends a Certificate of Completion to the insurance company. This document shows that work is complete, so insurance can release any remaining payments (usually the depreciation).
- Warranty Filing
- After you settle all payments, the roofing company files any warranty documents. This protects you in case there are issues with materials down the line.
Final Tips for Reading Your Roofing Estimate
- Ask Questions: Don’t be afraid to reach out to the roofing company or your insurance representative with questions about any line item. A quick call can clarify things that might seem confusing.
- Understand Your Deductible: Knowing this upfront helps avoid surprises. Remember, it’s the amount you’re responsible for paying out of pocket.
- Check Your Policy Coverage: Confirm what’s covered under RCV, ACV, and recoverable depreciation. This helps you understand how much insurance is paying and what’s left for you.
- Stay Informed Throughout the Process: Knowing each step helps you feel more in control. Plus, it ensures you know what’s happening with your roof from start to finish.
Conclusion
By understanding how to read a roofing estimate, you’ll have a clear view of what’s being done and what you’re paying for. Each part is laid out to make the process straightforward, from materials to labor to taxes.
Following this guide, you’ll feel more confident in managing your roofing project and getting your roof back to its best condition.


Understanding the details can be tricky, but your breakdown makes it much easier to know what to look for. This will definitely help homeowners make more informed decisions when getting their roofs worked on.
Thank you, Madison Construction NYC! I’m glad you found our blog article helpful. Making informed decisions is key when it comes to roofing!